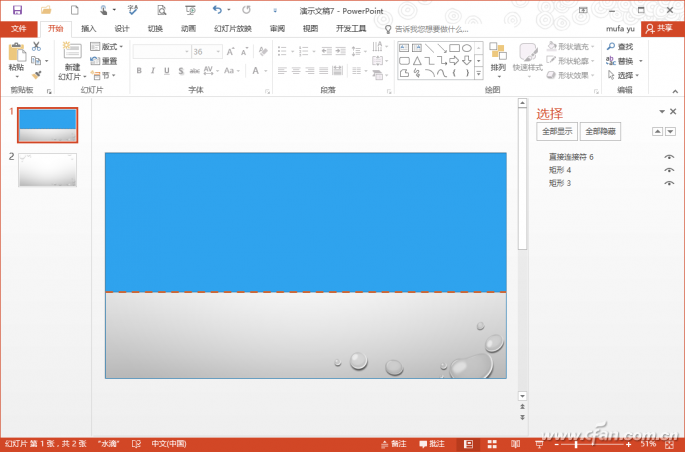
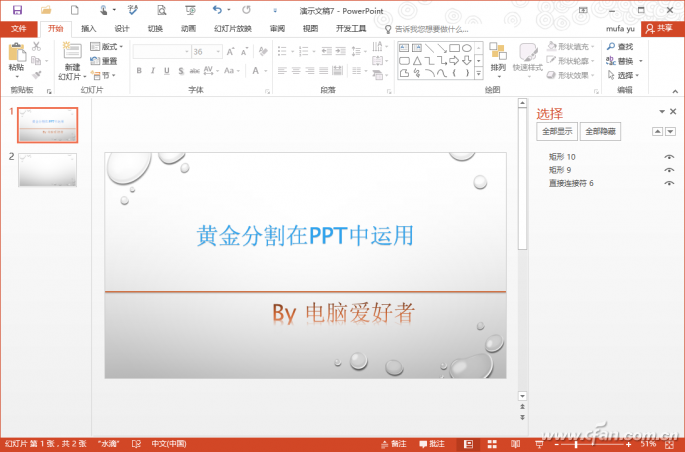
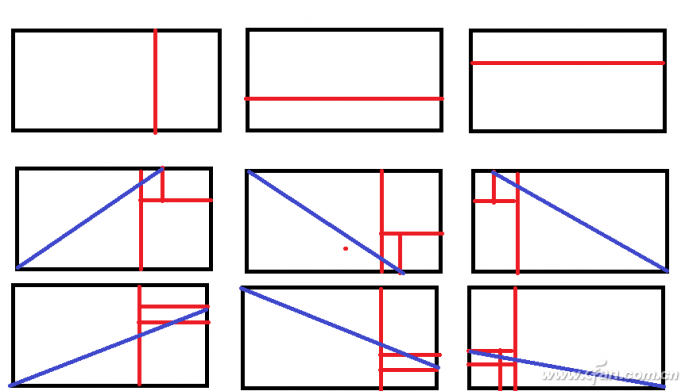
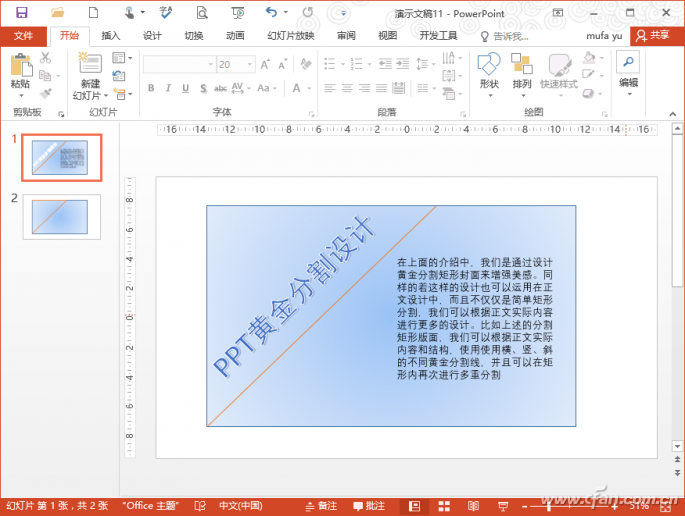
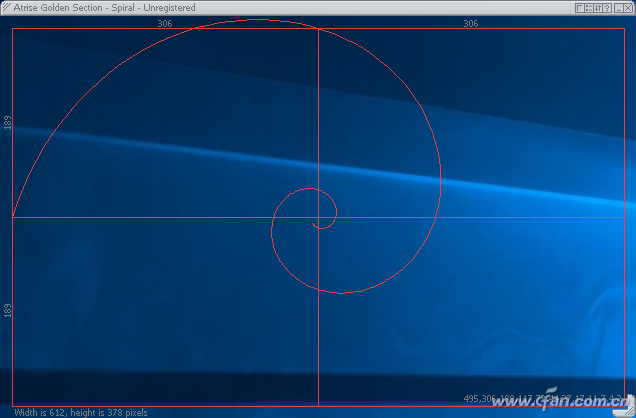
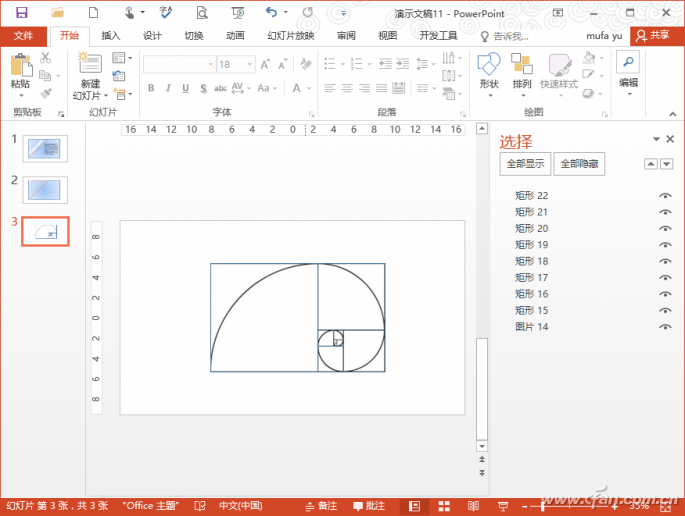
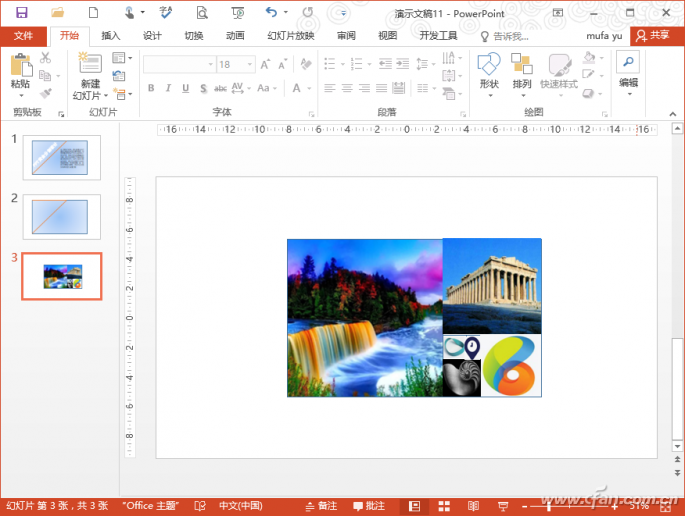
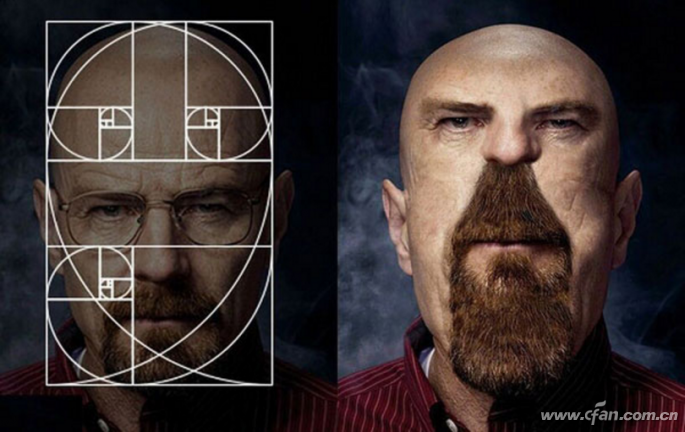
We all know that golden points in mathematics mean dividing a line segment into two parts, so that the ratio of one part to the whole length is equal to the ratio of the other part to this part. The approximate ratio of the ratio is 0.618. . However, the golden section is not a simple mathematical concept. The office family can also use it in PPT design to make our PPT look more beautiful. Simple use to create golden section PPT cover The PPT cover is a “face†of a PPT file. To make your PPT look better, you can now design using golden points. For example, many PPT covers use split rectangles. Now you can use golden lines as rectangular split markers to create a golden section layout. Select your own suitable template to create a new slide, click "Format → Select Pane", in the right pane menu, select "Heading 1" and "Subtitle 2", press the Del key to delete it, leaving only blank layout. Click "Insert → Rectangle" and insert a rectangle as prompted. The size of the rectangle should cover the entire background. Click Format → Shape Fill → None to insert a rectangle of the same size as the background size. The length and width of the rectangle can be seen in the tab (Figure 1). Figure 1 Check the size of the rectangle Obviously, if you want to create a rectangular layout with golden sections, you only need to select the above height value of 0.618 times, that is, 19.05*0.618=11.77cm. (Of course, in the actual design, you don't need to know the exact value, as long as it is about 0.618. ). As above, click on "Insert → Rectangle" and insert a rectangle 2 again so that the length of the inserted rectangle coincides with the above rectangle, and the height is set to 11.77cm. Align rectangle 1 with the top of rectangle 2 and continue to insert a line placed on rectangle 2. Bottom and align, this is the golden line (Figure 2). Figure 2 Insert golden line In the same manner as above, click "Format → Select Pane". In the menu on the right pane, delete the inserted rectangles 1 and 2 in this order. This golden section rectangle is completed. Insert the cover title text as prompted (Figure 3). Figure 3 Golden rectangle split cover Advanced use to create a gold version of the text In the above introduction, we are enhancing the aesthetic by designing the golden section rectangular cover. This design can also be used in the text design, and not just simple rectangular segmentation, we can carry out more designs based on the actual content of the text. For example, in the above-mentioned split rectangle layout, we can use different golden lines that use horizontal, vertical, and oblique lines according to the actual content and structure of the text, and can perform multiple segmentation within the rectangle again (Figure 4). Figure 4 Different combinations of rectangular split layout Take the hypotenuse as an example. Insert a rectangle 1 as above, calculate its width, and then insert a 0.618-fold straight line 1 on it to align it. This will make it possible to obtain the golden point on the top edge and insert the straight line as prompted. , You can connect the vertices in the lower left corner and the dividing points. Because it is a hypotenuse, the font on the hypotenuse can be rotated so that the inserted font can be parallel to the hypotenuse, and then the PPT text is entered on the trapezoid on the right, so that a hypotenuse is completed (Figure 5). . Figure 5 Gold Layout Body Typesetting In addition to the golden section of the rectangle, there are many graphics that can be used for golden sectioning in actual use. For example, according to the spiral curve drawn by the Fibonacci sequence (also known as the gold spiral), we can easily achieve perfect typesetting by drawing a combination of a gold spiral and a rectangle. The golden spiral can be generated automatically using the Atrise Golden Section (download at http://atrise.com/golden-section/). After starting the program, click on “switch look†in the upper right corner to switch the generated gold patterns continuously (each pattern can be right-clicked in the program title bar to rotate the direction and adjust the size), select the desired gold spiral line as prompted, and take a snapshot to the PPT. (Figure 6). Figure 6 Generated Gold Helix Because the actual typesetting is based on the spiral tangent to generate a gold rectangle, paste the screenshot in the PPT and click "Insert → Rectangle", and then use the spiral curve tangent to insert the rectangle as the edge of the rectangle, so the final result is a combination of multiple golden rectangles Graphic (Figure 7). Figure 7 Generated Gold Helix Typography Architecture Click on "Format → Select Pane" to remove the inserted gold spiral screenshot in the right-pane menu. Later we can use this to make a golden layout of the image. After selecting the rectangle, click "Plot Format → Shape Fill → Picture" to select the typesetting picture. The operation is the same as above, and the pictures are filled in other rectangles in order to complete the layout of a gold curve picture (Figure 8). Figure 8 Picture gold curve typesetting Of course, in actual operation, we do not use machines to use precise gold curves for typesetting. In actual operations, we must also choose according to actual conditions. For example, many webpage layouts use mainly the left and right structures of the gold curve. For some people's face modification, if you do not consider the actual situation, and force the use of the gold curve, you will receive the result of “degenerationâ€. Therefore, in the PPT design, the golden section must be flexible and pragmatic (Figure 9). Figure 9 Results of forced golden section modification on face
OPT Diamond Cutting Tools Co., Ltd
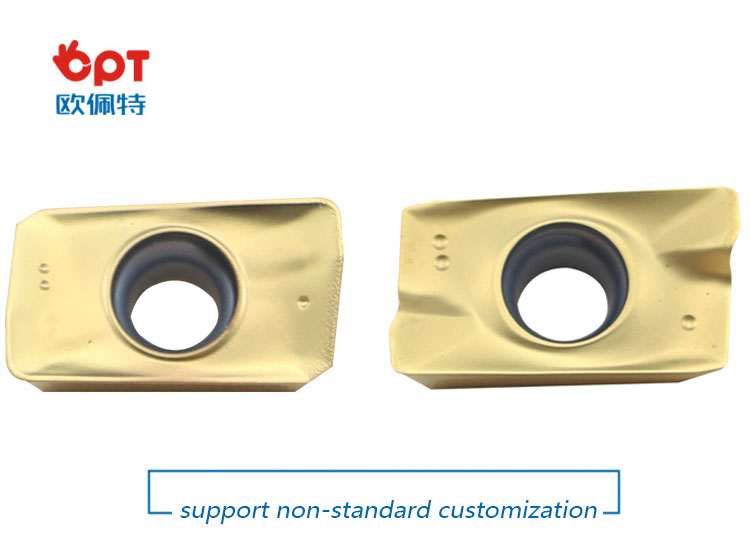
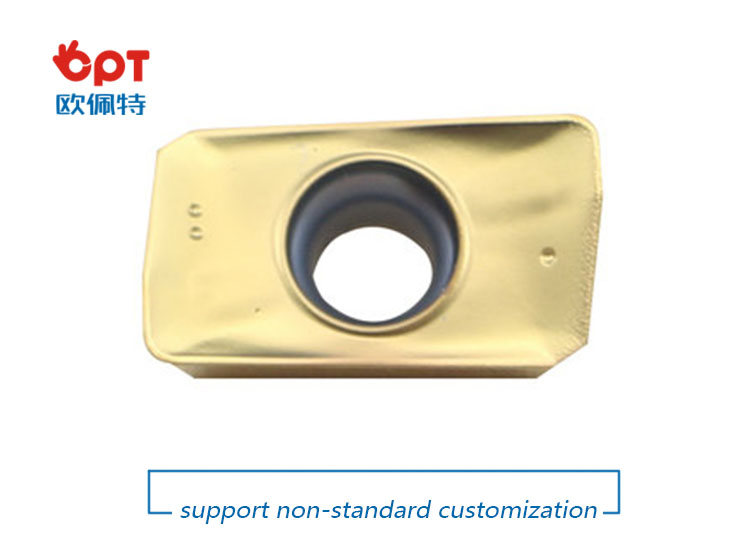
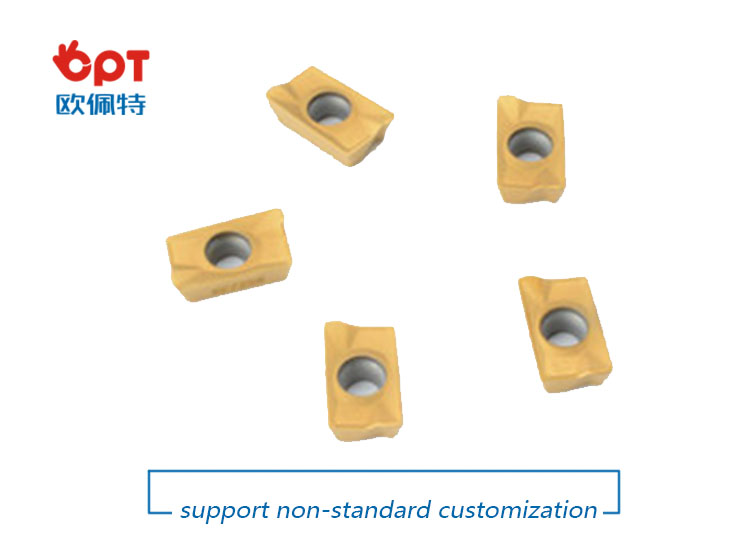
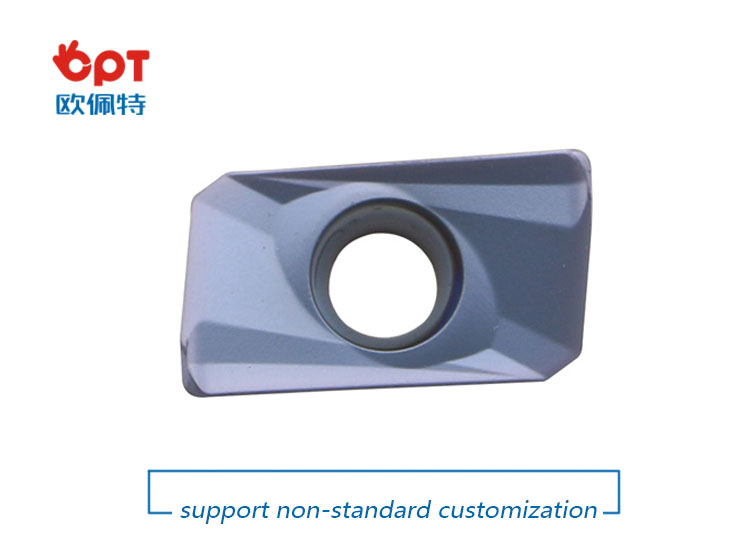
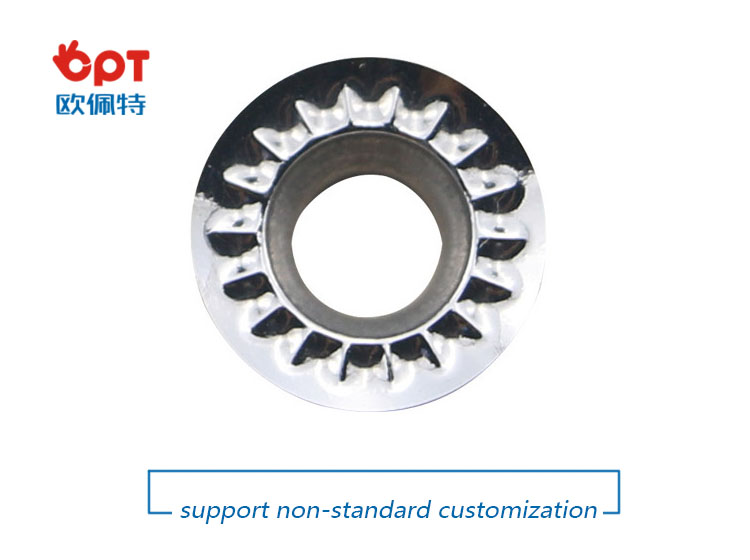
provide a variety of carbide
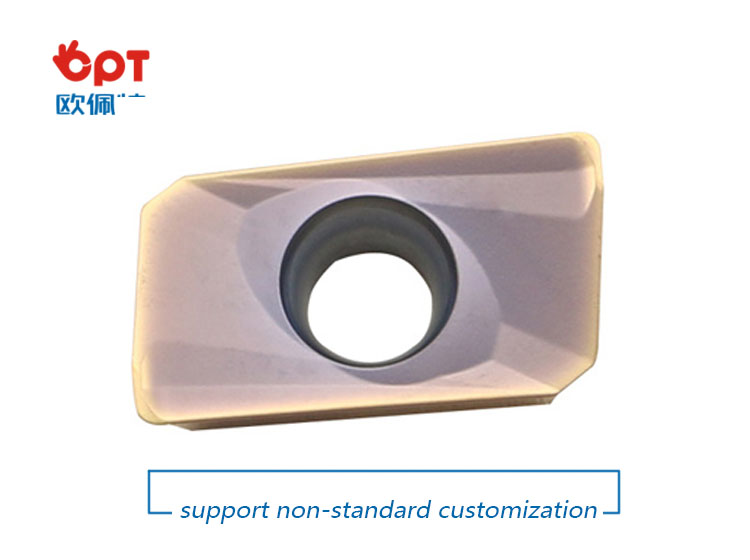
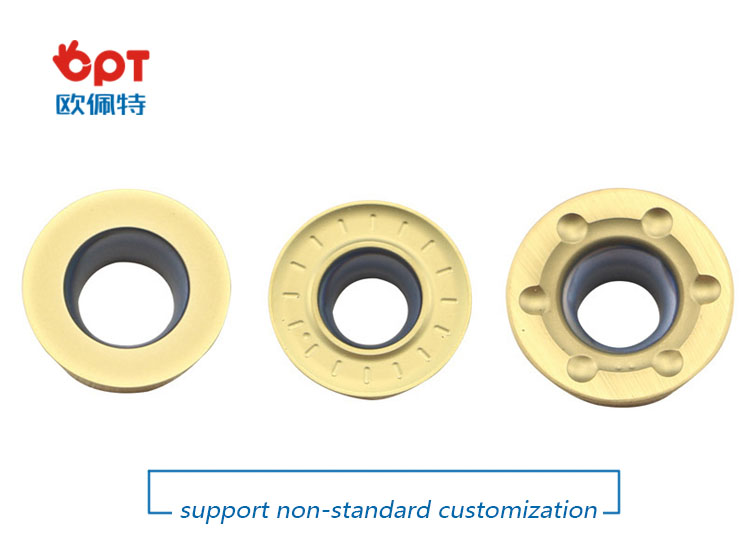
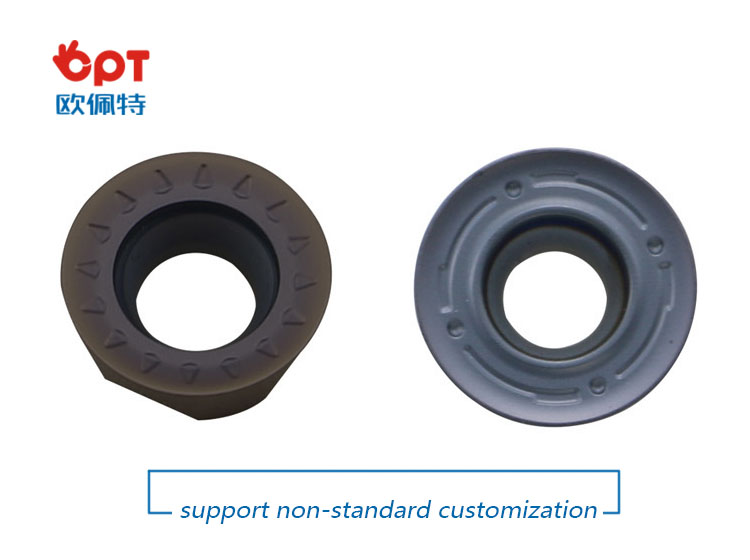
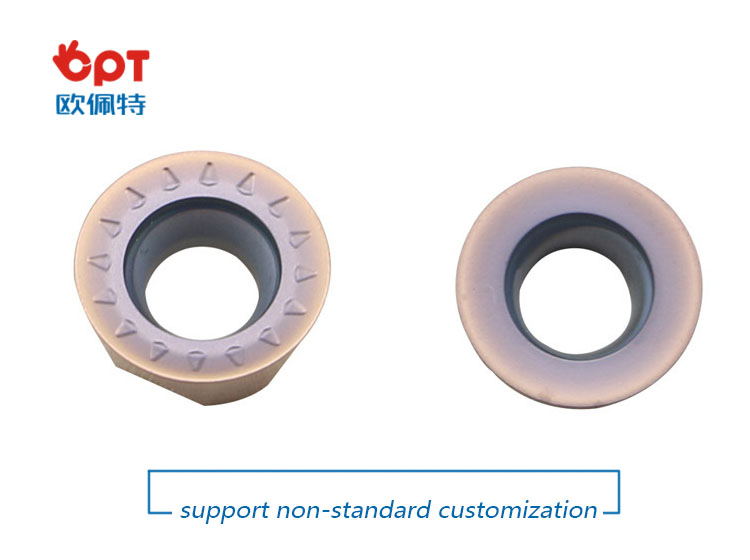
milling inserts, they were widely used to cutting steel, stainless steel, cast
iron, heat-resistant alloys, non-ferrous material and hardened material.
Carbide milling inserts are used in the machining industry. Carbide milling inserts of different materials are used depending on the processing of different metal (non-metallic) materials.
Advantage:
Various
grade and size are available.
Flexible in order quantity:
Samples can be provided before mass production,
and MOQ can be discussed accordingly.
PRODUCT DETAIL:
PAYMENT AND DELIVERY:
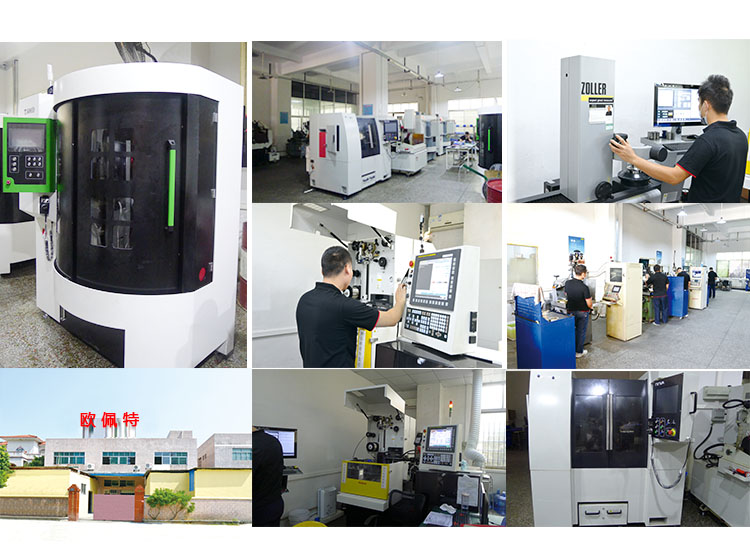
PRODUCT EQUIPMENT :
+
ABOUT US :
We are specialize in manufacturing PCD diamond tools and Carbide tools. Our major product inclulde PCD Inserts , PCD Reamers , PCD End Mills, PCD Taps, Cabide Inserts,Carbide Drills, Carbide Reams, Taps etc.,
We also offered customized cutting tools per drawings, and provide package according to customer requirements. We manufacture a series range of cutting tools for machining of Cast iron, Aluminium alloy and Non-Ferros metal, it is widely used in all major sectors like Automobiles, Engineering, Aerospace, Aviation and 3C industry. Premium quality of raw material is used in the production and strict examination during processing with advanced equipment, so our client are satisfied with our reliable quality and on-time delivery.
Our best selling of cutting tools include PCD Inserts, PCD End Mill, PCD Ball Nose Mill, PCD Reamer, Carbide Taps, Carbide End Mill, Special Form Cutter and many more. For these years we have been made a large forward in the technologies of manufacturing cutting tools. With high quality on performance and price, our product sells well both on domestic and overseas market. And we will always focus on the quality and best service, to make long business relationship.
quanlity control:
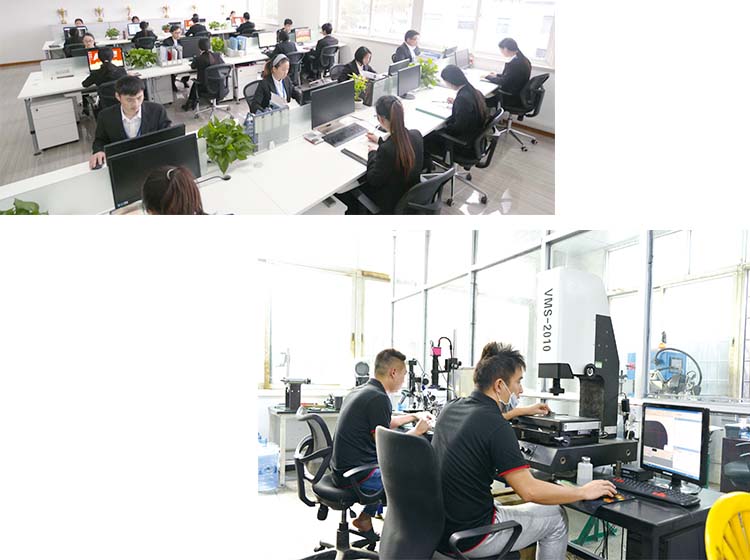
We have dedicated team of quality control and precise equipment to keep good and stable performance for our products and processing services.
Carbide Milling Inserts,Lathe Cutting Inserts,Solid Carbide Milling Cutters,Carbide Milling Tools OPT Cutting Tools Co., Ltd. , https://www.optdiamondtoolss.com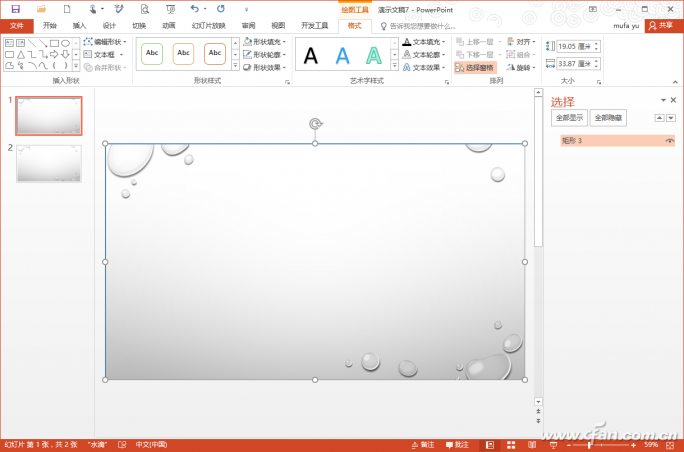
Long use lifetime
and stable performance.
Good quality with competitive price.
