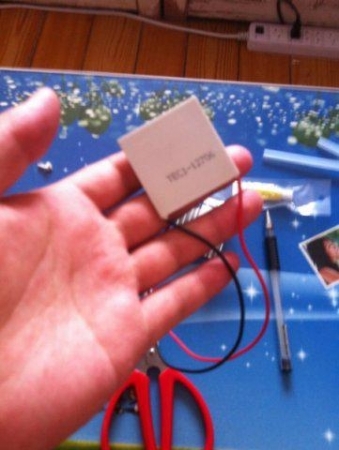
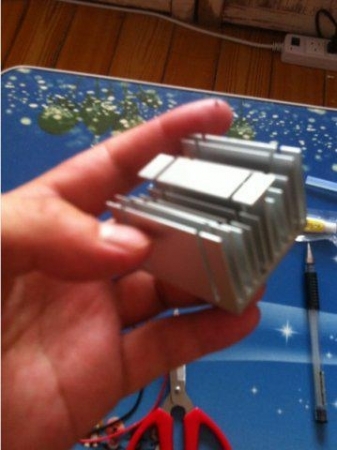
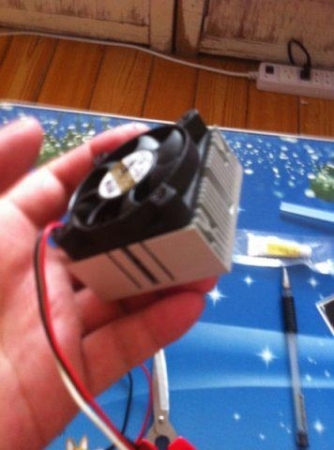
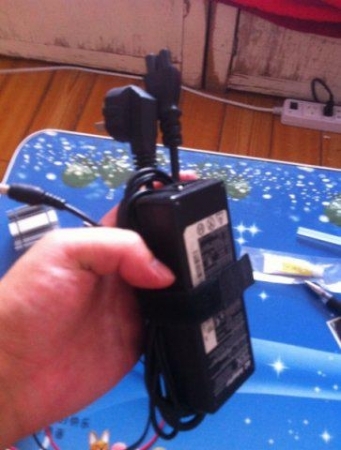
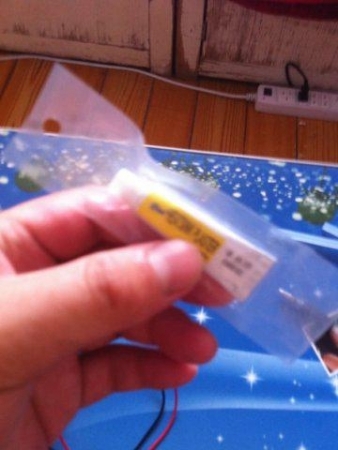
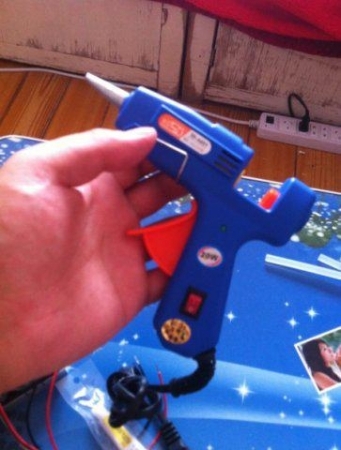
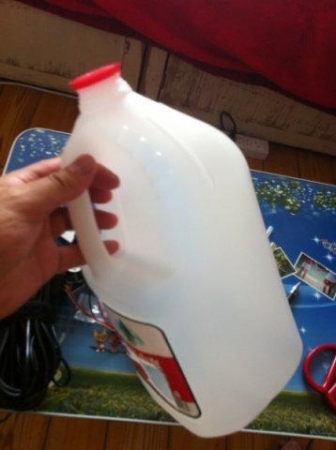
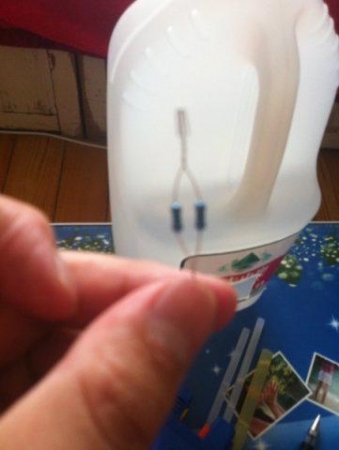
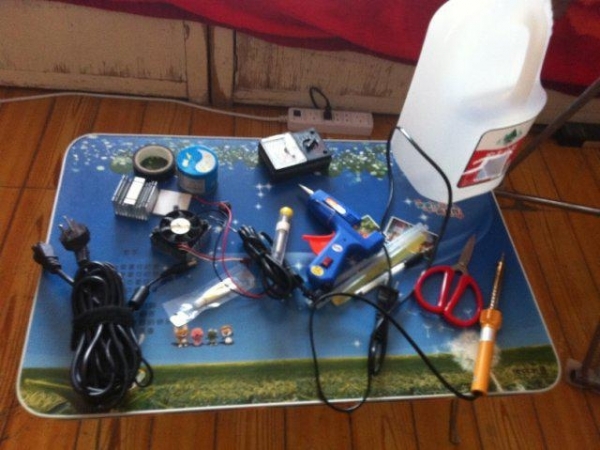
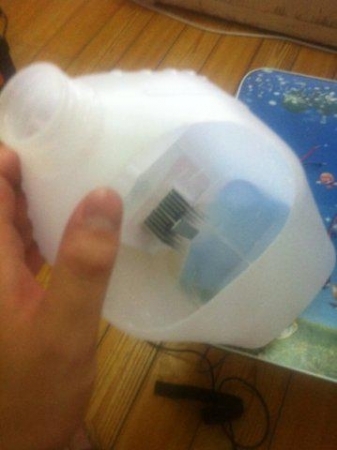
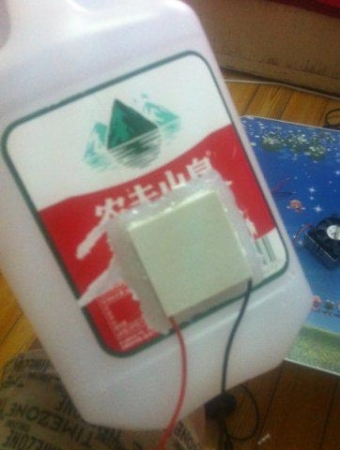
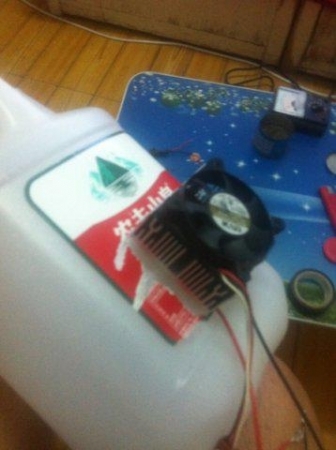
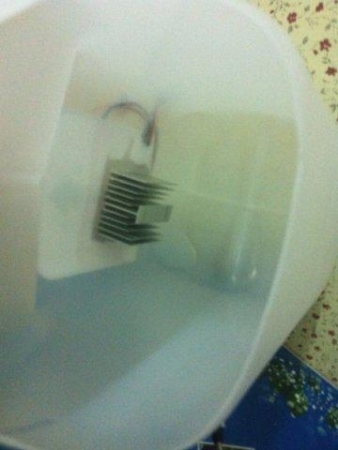
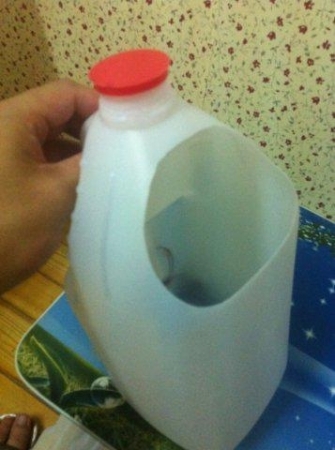
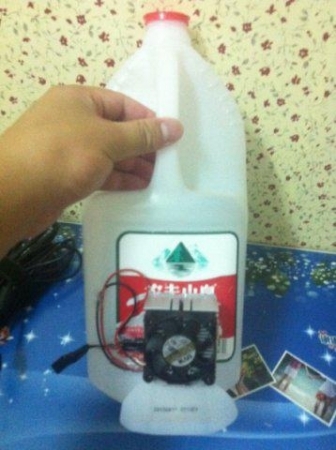
Summer heat DIY ice water bottle, electronic refrigeration, ice cola ice beer ice white water What about the summer without a refrigerator? Teach everyone DIY ice water bottle, I only heard of adding a hot water bottle, today I am an ice water bottle Electronic refrigeration, ice cola ice beer iced boiled water Less nonsense, dry out Prepare materials Electronic refrigeration film 10-30 yuan, the best 30 yuan to buy, the most expensive one Dongdong 555--- Small fan hot film (put in the kettle, responsible for refrigeration) can have a need, or come to the computer city 3-5 yuan (main board bridge fan hot film) Big fan hot film plus 12V fan (preferably muted) can buy a good 10 yuan (I use a desktop CPU fan) Idle notebook power supply (16V with two 200 ohm resistors in series, then parallel to the total circuit, transformer to 12V) This does not require 12V power enough Thermal adhesive (not thermal silica gel, must be separated) 5 yuan Hot melt glue gun (required) own 20 yuan or so Hot melt glue stick, very cheap 5 corners, enough to use The mineral water bucket, because of the refrigeration, does not require too much, the solid point can be, I use the vat of the Nongfu Spring mineral water Two 200 ohm resistors are connected in parallel, the first to use a 100 ohm, burned, in order to ensure that the power is enough to connect in parallel and then the total circuit in series Come to Zhang Family Family Multimeters, electric irons, scissors, tapes, etc. must be said without tools. First, work under the bucket The size is just a small fan hot piece inserted in Best fit, no gaps Depth as shown below Leave about 1mm on the outside, and use a hot melt adhesive to seal it tightly. After the photo was forgotten, the cold film was attached, and the crime was sinned. It should be like this after finishing it. It is best to apply the cooling film first to test which side is cooling, which side is heating, otherwise it will reverse the electric kettle. After attaching the cooling sheet, put another fan and fan on it, and wait for the glue to dry. Big work is 99% It’s like this, it’s hardly changed. Connect the wires and apply the hot melt adhesive to the surface of the bucket. The finished product is like this, beautiful? ? ? ? By the way, the fan is a bit heavy at the end, it will be unstable when empty, and it will be OK to add a bracket. This will not be said. Hot melt glue plus the clinker clinker that has just been lost, it's very good No test data without a thermometer Powerful sense of temperature difference If the temperature difference is less than one minute, the difference will be very large. After 10 minutes, drink cold beer喽 Overall presentation Fan Motor,Air Cooler Motor,Ac Motor Air Cooler,Asynchronous Fan Motor WUJIANG JINLONG ELECTRIC APPLIANCE CO., LTD , https://www.jinlongmotor.com