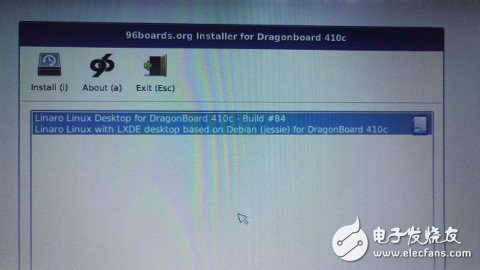
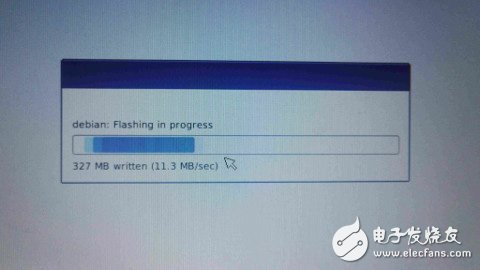
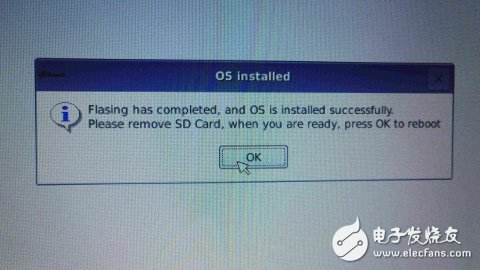
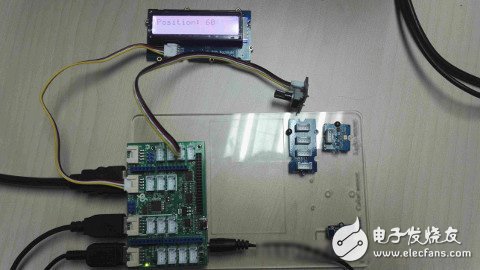
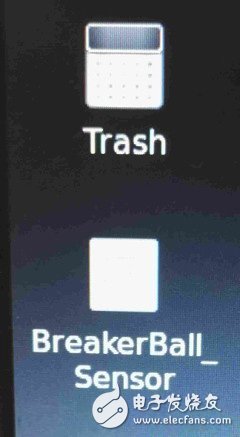
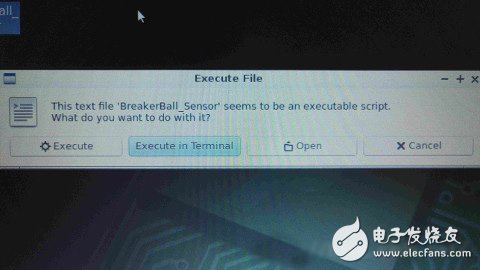
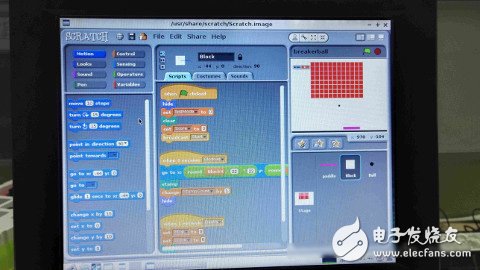
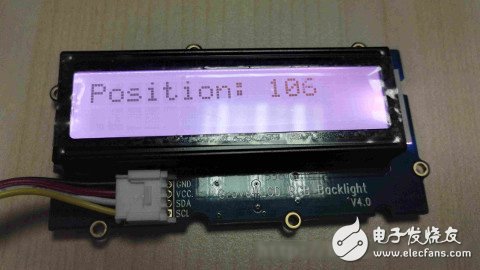
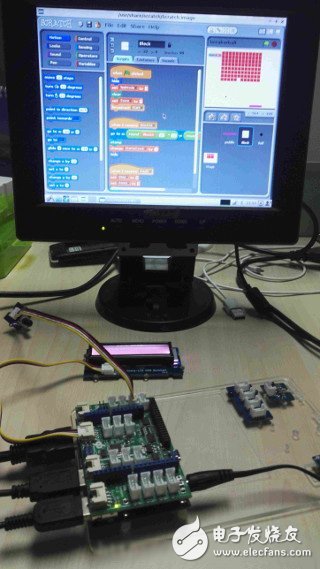
1. An SD card larger than 1G (used to install Debian on the DragonBoard 410c); 2, DragonBoard410C 3, HDMI cable 4, a set of USB keyboard, USB mouse 5, U disk one (greater than 256MB) 6, a display with HDMI Note: Make a backup of the SD card, because we will use the win32diskimager to format the operation. The process of installing Debian can refer to the following steps: Note: Do not connect the expansion IO board and associated sensor to the DragonBoard 410c during installation. Open the page https://builds.96boards.org/snapshots/dragonboard410c/linaro/debian/84/ In this page, dragonboard410c_sdcard_install_debian-84.zip is the Debian image package we want (this step, we only download this package), after downloading it, unzip it, we will get the db410c_sd_install_debian.img file, this is what we want to brush Go to the Debian image in the SD card. Here is a brief explanation, in fact, in https://builds.96boards.org/snapshots/dragonboard410c/linaro/debian/ As we can see, this suite is always updated, and latest is the Debian image of the latest suite. Format the USB flash drive, format the configuration, you need to set the USB flash drive name to DRAGON (note, we will use this name later, so be sure to do not mistake DRAGON), then copy our breakerball.tar and Install files. In the formatted U disk, we can unplug the U disk. You can go online to download WinDisk32Imager.exe, you can refer to the following address: Https://sourceforge.net/projects/win32diskimager/ 1.3.1 Inserting SDCard 1.3.2 Using WinDisk32Imager for System Image Programming Please refer to the following steps for Debian system image burning, select the decompressed db410c_sd_install_debian.img, Device select our SD card, pay attention to not choose the wrong here. figure 1 Then click on write. (It will be ok in about 5 minutes). After safely removing the SD card, insert it into the DragonBoard, turn the DIP 2 (SD Boot) dial switch of the DragonBoard 410c to ON, and keep the other switches OFF. At the same time, plug the USB mouse and keyboard set into the DragonBoard port and connect the DragonBoard to the HDMI display device with an HDMI cable. Plug in the power supply of the DragonBoard and enter the installation interface in about 15s. figure 2 Press i and press enter image 3 Installation in progress Figure 4 After the installation is complete, you will be prompted to unplug the SD card. At this time, we unplug the power supply, then remove the SD card, and turn the DIP 2 (SD Boot) dial switch of the DragonBoard 410c to OFF, and then plug in the power again. . We connect the IO board and sensor to the 410C. Note that the correct connection must be made here. The wrong connection may cause both boards to burn out. Connect the rotary angle sSnapdragon VR SDK Graphics path IntroductoryTIonensor to the A1 interface Connect the 1602 LCD to the I2C0 interface. For the connection method, refer to the following figure: 2.2.1 Plug in the power and enter Debian 2.2.2 Connecting to the Internet SetTIngs --> Wifi connecTIon connects to an available network (this is for downloading related programs from the internet when apt-get is later). 2.2.3 Running Install Open a command window: Debian Start -> System Tools -> LXTerminal carried out: Cp /media/linaro/DRAGON/*. Chmod +x Install ./Install The script extracts the zip file, then places the icon on the desktop and loads the code into the IO board while updating the operating system. When the script finishes executing, we can see the BreakerBall icon as shown below: Figure 6 Double-click the BreakerBall icon to prompt you where you want to execute and choose which one. Figure 7 When the scratch tool is started and the remote sensor is operating normally, click OK. Click on the green flag in the middle of the middle and the game will start. Figure 8 When the rotary angle sensor is adjusted, the real-time position information is displayed on the 1602 LCD screen, and the purple stick that bounces the breakerball moves with it. Figure 9 Click the full-screen icon in the upper right corner of scratch to display the full screen. You have 15s to execute the above steps. If it exceeds 15s, the program will automatically read the value of the rotary sensor and transmit the position information of the board. The overall effect is this, So easy! ! ! Figure 10 Appendix Install Script Reference Sudo apt-get update Sudo apt-get dist-upgrade -u -y Sudo apt-get install -y man-db manpages manpages-dev Sudo apt-get install -y libpython-dev libpython3-dev python-dev Sudo apt-get install -y arduino-mk arduino Sudo apt-get install -y libmraa-dev libupm-dev libsoc-dev Sudo apt-get install -y scratch python-pip Pip install spidev Sudo apt-get clean #extract the tar file Tar -vxf ~/breakerball.tar #attempt t0 install the Arduino program on the Sensors board Cd breakerball_sensor Make upload #place the appropriate icon on the desktop If [ "$?" = "0"]; then Sudo cp pyupm_i2clcd.py /usr/lib/python2.7/dist-packages/pyupm_i2clcd.py Cp ~/breakerball_sensor/go ~/Desktop/BreakerBall_Sensor Else Sudo dd if=~/boot-db410c.img of=/dev/mmcblk0p8 Cp ~/breakerball_linker/go ~/Desktop/BreakerBall_Linker Fi Echo Issue the following command Echo sudo reboot now Ultra Thin Switch Power Supply Switch Power Supply,Switch Mode Power Supply,Switch SMPS LED Power Supply,Ultra Thin Switching Power Supply FOSHAN SHUNDE KELICHENG POWER SUPPLY TECHNOLGY. CO,LTD , https://www.kelicpower.com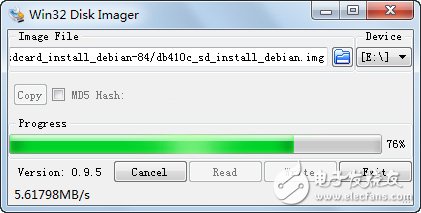
Basic configuration requirements