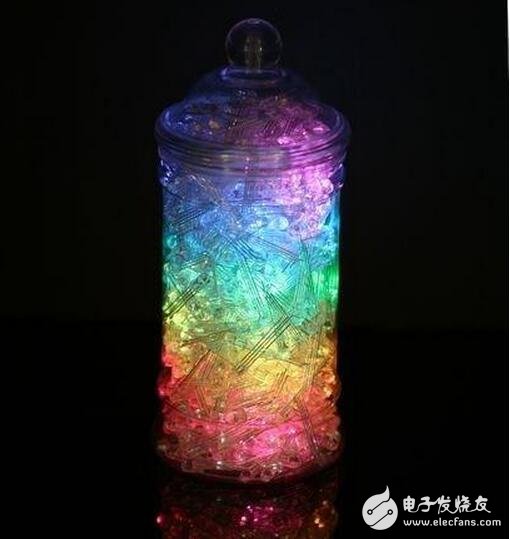
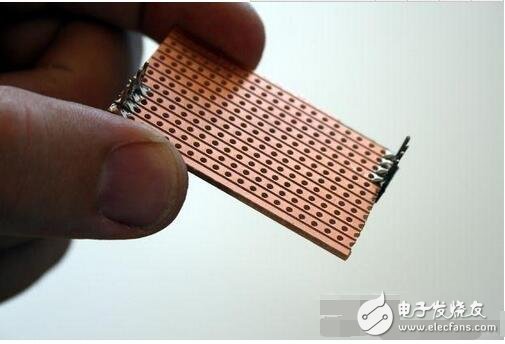
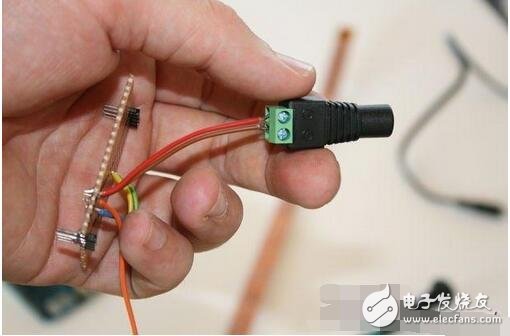
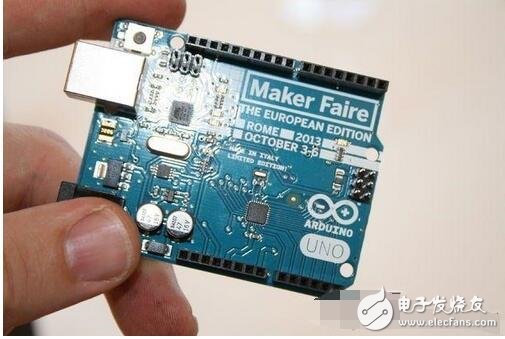
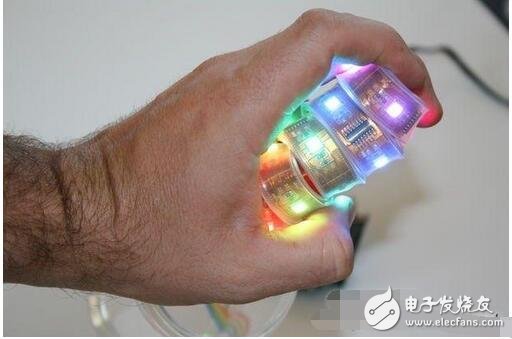
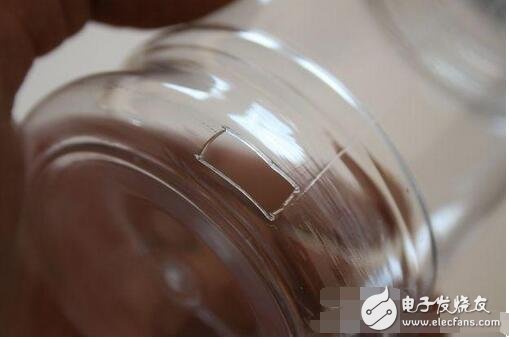
Step 1: Prepare to start - Bill of Materials These are the materials you will use in the process of making the lamp: plastic jam jar (Taobao walks, choose what you like) Arduino Uno open source hardware knowledge base Pin Headers (UK) Pin Head Stripboard (UK) Strip Copper Foil Board Rainbow Wire Rainbow Line 5 volt power supply Materials that can diffuse light - we chose RGB LED lights! tool: Soldering iron and solder Stripper (wire) Paper cutter and ruler If you are interested, please visit our website for more tutorials - in the US you can purchase tools on our official website Adafuit or Sparkfun~ Step 2: Prepare the wires The wires are controlled by the Arduino hardware library and use two control data lines and clocks. I link the green and data lines, and the yellow line links the clock. Orange and 5 volt power link, blue connection ground (common). Take the red and brown lines from the rainbow cable first, and it will be useful later. Use a cutter to subtract the plastic part of the front end of the wire to expose the wire end. If you are using the rainbow cable in our picture, you can bend a little orange and blue cable. Apply a little bit of solder to the wires to help you stick the wires to the pads while heating your soldering iron. Step 3: Make a breadboard Now let's make a breadboard for the Arduino hardware library! Fold the needle ends of the pin into two folds, place them in the Arduino hardware library, place them on the 0, 1, 2, 3 side, then the voltage input to the ground (Vin GND), GND ground, and 5 volts. The head is at the other end. Put the breadboard on top and record how many parts you need. The breadboard is the same as the positive electrode, so you don't need to make any adjustments on its surface. Record which holes you need to wear the wires, and align the corresponding holes after passing the wires. Now we can make a small change to the pin head, pushing the black plastic part onto the hard surface of the breadboard until the black plastic part is flush with the hard disk surface. In this way, we can connect one end of the pin to the side of the breadboard without copper and the other side to the side with copper. Strip the other end of the rainbow cable and solder the clock and data inserts to the straps 3 and 2, respectively. Don't worry, if you stick wrong, you can change its position with code! Solder blue and ground, orange and 5V. Step 4: Add an external power supply! you can also! The beautiful "Rainbow Jam Light" is like this DIY The above steps run smoothly, the Arduino wire is only 50 cm, we can add a 2.1mm external power supply to it. (Taobao search 2.1mm female jack) Use the red and brown wires we built in front (two wires connected to 5V and ground wire respectively), the 5V end is connected to the positive pole of the external power supply, and the negative pole is connected to the ground wire. Step 5: Programming the Arduino Uno Open Source Hardware Knowledge Base Now let's start brainstorming! Open some of the design files supported by the downloaded Arduino, unzip it, and put it in your Arduino library folder. You can change the length of the 16 LEDs by connecting your Arduino library to your computer via a USB cable and launching the Arduino IDE load string test. You can also block existing designs and upload your own artwork to the Arduino library! Look! This is a very beautiful design. If it doesn't work, check your solder section and the clock and the data values ​​are correct. Step 6: Prepare the jam jar From the standpoint of stability and aesthetics, jam jars should allow the light source to escape from the bottom to the top while keeping the wires at the bottom of the bottle more stable. It's good to use a paper cutter to cut plastic bottles, but be careful not to put the knife aside when you don't have a knife. You can also wrap wires of different colors into the shape of a letter box. Step 7: Pass the wire through the bottle, roll it up, and add a diffuser of light, and you're done! you can also! The beautiful "Rainbow Jam Light" is like this DIY! You can also! The beautiful "Rainbow Jam Light" is like this DIY Open the cap and put the wire envelope you just made into the bottle. Now add the light diffuser. If you want the wires and diffusers to have a certain shape, you can adjust their position in the bottle and put it in your favorite look. I took photos all the time while doing this step, then came back to adjust the position of the wires. I used a bubble wrap to wrap the cable into the shape of a sausage. At this time, fix it with tape so that there is no diffuser inside the package. You can use a tape to fix the light diffuser on the outside, so the back of the bottle can have a diffuser. Finished!
ZGAR electronic cigarette uses high-tech R&D, food grade disposable pod device and high-quality raw material. All package designs are Original IP. Our designer team is from Hong Kong. We have very high requirements for product quality, flavors taste and packaging design. The E-liquid is imported, materials are food grade, and assembly plant is medical-grade dust-free workshops.
From production to packaging, the whole system of tracking, efficient and orderly process, achieving daily efficient output. We pay attention to the details of each process control. The first class dust-free production workshop has passed the GMP food and drug production standard certification, ensuring quality and safety. We choose the products with a traceability system, which can not only effectively track and trace all kinds of data, but also ensure good product quality.
We offer best price, high quality Vape Device, E-Cigarette Vape Pen, Disposable Device Vape,Vape Pen Atomizer, Electronic cigarette to all over the world.
Much Better Vaping Experience!
E-Cigarette Vape Pen,Disposable Device Vape,Vape Pen Atomizer,Latest Disposable E-Cigarette OEM vape pen,OEM electronic cigarette Shenzhen WeiKa Technology Co.,Ltd. , https://www.zgarecigarette.com